Removing Decals
There is always more to it than you think!
Removing decals might seem like a straight forward and simple task to the casual observer. With an endless array of vinyl graphics and stickers that can be found on vehicles, many people find themselves faced with the challenge to remove decals.
There are numerous reasons a person is presented with the need or want to remove decals of all kinds. Either to replace an old decal with a new one, or to simply remove the existing decal that no longer serves its original purpose, or has simply become old and worn out.
Like everything else in life, decals are not all created equally. With that being said, the decal removal process can be reduced down to 4 essential steps of the process for virtually every decal removal project.
The Many Shapes and Sizes of Decals
With modern advances in production, vehicle wraps and decals are only limited by one's imagination. Just a few years ago, advertising on vehicles was limited to single color, die-cut vinyl graphics.
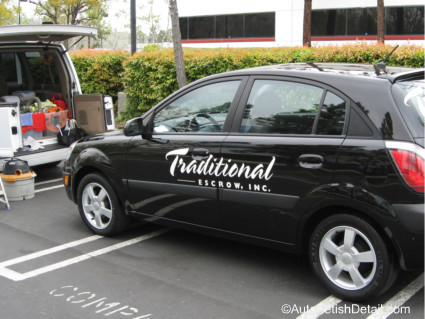 Traditional die-cut car decals used on company vehicles for advertising
Now days, the industry has taken digital full color capabilities and applied it to the industry with what is called full vehicle wraps where literally, the entire vehicle can be "wrapped" in vinyl, full color graphics.
Now vehicles of every imaginable shape and size can become rolling billboards.
Removing Decals:
What Goes on, Often Must Come Off
Removing decals is becoming more and more a problem for people and companies looking to update new logos or advertising. Something as basic as updating business information often initiates a need to remove the present graphics and decals.
Many vehicle decal removal jobs can be performed by the Do-It-Yourselfer. My years of experience has taught me a few things along the way that can make your job of removing car decals less of a nightmare!
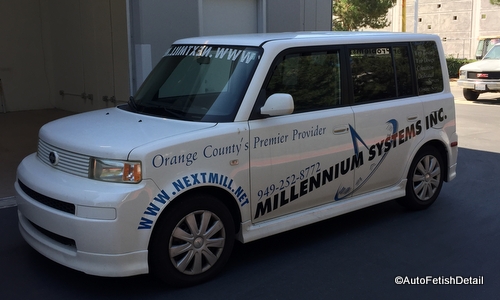 Company car with many die-cut vinyl decals to be removed.
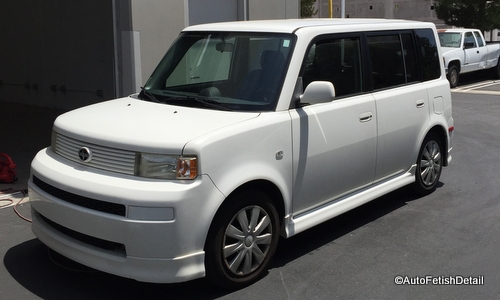 The finished product with all company decals being removed.
Removing Decals:
Decal Removal Process
Regardless of the type of car emblems or vehicle decals you are removing, the process is always the same:
- Removal of top material layer
- Removal of underlying adhesive glue (the thicker adhesive left over from the original decal or wrap)
- Removal of adhesive glue residue (usually a thin layer left behind from the thicker glue itself)
- Polishing of abraded underlying material
Removing vinyl decals or vehicle wraps can be broken down into those (4) steps. The same steps necessary in also removing car emblems and badges.
Removing Top Layer
The top layer will be your first step in removing decals from your vehicle.
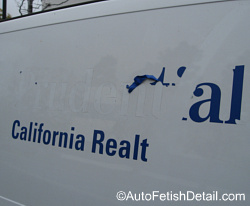
If the decals for removal are new and have not been in place for a particularly long time, it is possible to simply pick up an edge and peel the decal off.
In most cases, the vinyl decal will need to be heated —use a heat gun or even a hair dryer— to soften the vinyl top material which then loosens the underlying adhesive.
If the decals are newer, this can be as simple as exposing the decals to the sun and allowing the UV rays to warm the decals and then peeling them off. Even if no separate "tool" of any kind is needed for this step, there will still be some form of adhesive residue remaining.
Removing Decals:
Removing brand new decals
Removing brand new decals form your car or truck is as easy as it will ever get. But of course this statement is made based on a few basic rules of decals in general:
- Not all decals are created equal (some are thinner, some have more durable adhesive, some are simply harder to get off than others. Every situation will be unique)
- Every car or truck manufacturer sources their decals out to different manufacturer's
- After market decals of any kind are also based on the same rules of uniqueness
New decals will require the same basic steps of removal:
- Remove top layer
- Remove underlying adhesive
Using Heat Gun to Remove Decals
Most people will come to this page already having heard of using a heat gun to remove decals.
This is effective if the decal is still in "new-like" condition, has not begun to crack, and still remains in very good condition.
The unwanted decal can be heated-up with a heat source and finessed off with your fingers. I say finessed, as heating up a vinyl decal too much will cause the vinyl to become so soft from the heat that it will stretch and break too easily to remain intact as you remove.
A heat source can be as simple as allowing the side being worked on to sit in the sun, otherwise, use a hair dryer, or a professional heat gun.
Since every situation is truly unique, you will never know what the required method will be until you discover what you are in for as you begin removing decals.
If the decal to be removed appears to have no cracking what so ever to it, then a hair dryer or heat gun will likely prove the first choice for most people.
With that said, as a professional, I know I can speed the process up using one of the many types of decal removal tools available since under the best of circumstances in removing decals, they will still break into smaller pieces as you heat and pull.
A tool like the 3M stripe off wheel below becomes a sure thing that can save much time and aggravation.
Removing Decals the Quick and Easy Way
Since most of you will be faced with removing decals that have been in place for long periods of time, the simple "heat and peel" technique will prove ineffective.
There is a straight forward way in which to safely remove decals from virtually any surface using my favorite decal removal tool.
Removing Decals:
Tools for Success
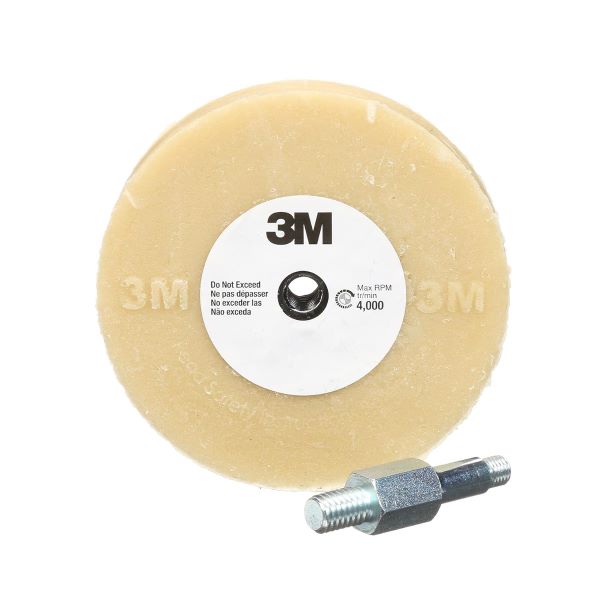
- The exact tool I have been using over 15 years
- I have tried other decal removal tools, but none perform like the 3M
Darren's Tips: I have tried other decal removal tools and they simply do not perform like the 3M stripe off wheel.
A few of the other tools (even the expensive air tools) can remove the decal quicker, but it also creates a bigger mess that must now be cleaned up. Only the 3M tool removes the decal or double-sided tape and leaves a very thin adhesive residue that I then use my adhesive remover on.
Darren's Warning: Decals themselves are unique and many factors determine how decals age. This aging process also means that each decal removal job will also be unique. The material you are removing the decal from will also affect the decal removal process:
- Car paint
- Car glass
- Rubber window trim
- Bumpers
- Etc.
The 3M eraser tool can be used in every situation with a strong caution when it comes to rubberized materials on a car (think of window gaskets), or on plastic body panels/accessories or car panels that are not metal:
- Front and rear bumpers
- Some rear, license plate light holders
- Rear deck spoilers
- Wheel well arch trim
Because the 3M stripe off wheel uses friction to grab and peel the decal off, this same friction can also peel the paint off the plastic panel/accessory. It can be done, but I don't apply any downward pressure to the wheel. I only allow enough pressure for the wheel to naturally grab the decal and begin peeling it off.
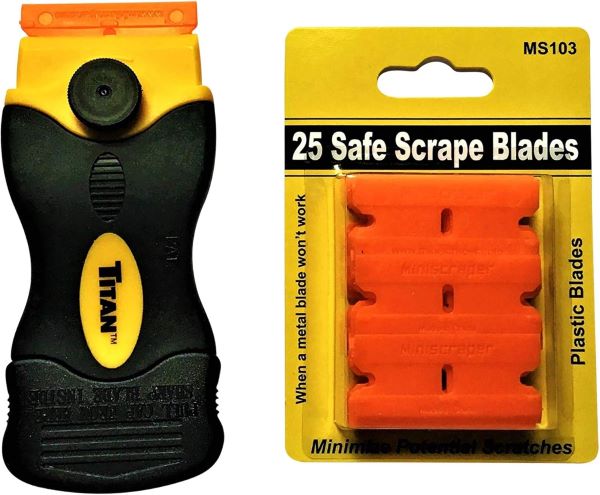
Plastic Razor Blades on Amazon
Most people are not even aware that plastic razor blades even exist. These blades made from plastic will prove effective in many situations in removing decals from most surfaces.
- Can be used safely on most surfaces including car paint —caution must still be used
- Effective for scraping decals during the removal process if you are using a heat gun
- Also effective at removing the adhesive residue once the adhesive has been softened up with the adhesive remover
- When removing decals from glass, a traditional steel razor blade can be safely used
Darren's Tips: There are many steps for complete decal removal. Each step requires you to finesse the situation for desired results.
These plastic razor blades will prove very effective and greatly reduce your aggravation when removing decals.
There are two stages where the above plastic razors can prove particularly helpful:
- sometimes a decal can be removed by super-heating it and scraping it off with one of these plastic razors instead of using the 3M Stripe Off wheel
- Some adhesive residue will be particularly thick. when this adhesive begins to break down, the razor blades are great at scraping off the softened glue adhesive
- While these razor blades are made of plastic, you still have the potential to cause unwanted damage to painted surfaces. using them cautiously still remains necessary.
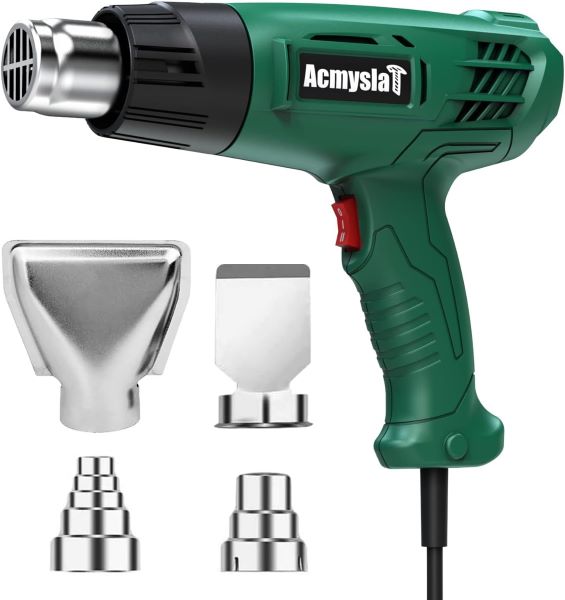
- An economical and effective heat gun
- Equipped with (2) heat settings for greater versatility
Darren's Tips: Like many tools, regardless of the tools capabilities, you as the user remain largely in control. This means that despite how hot this heat gun gets, you can control how aggressively you heat up the surface.
If using a heat gun in removing decals for the first time, you will need to experiment as to how hot, and how long the decal you are removing will be required to be heated up.
If you are using the 3M Stripe Off wheel, you will not need to heat up the decal at all. If you are trying to finesse the decal off with your fingers, then warming the decal just enough to release the adhesive is all that will be wanted.
If the decal proves impossible to heat and peel, you can attempt to heat the decal to the point where it begins to fully soften and then proceed to scrape both the decal and most of the adhesive with it.
 Removing vehicle decals: before shot
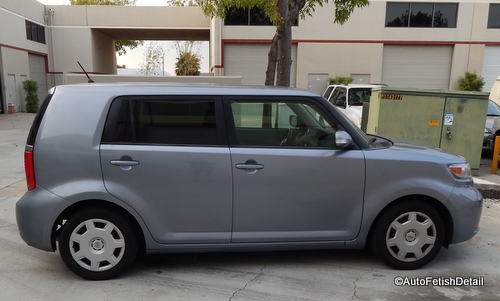 Removing vehicle decals: after shot
Just When You Think You're Done...
you're not!
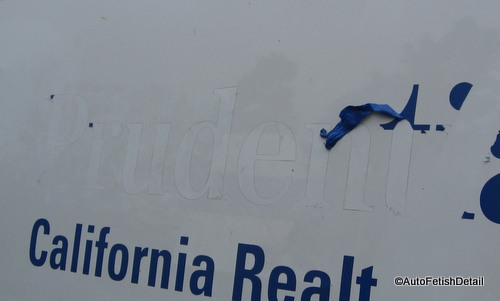 Residual adhesive that needs removing once the vinyl decal has been removed.
You can see in the picture above that once the top vinyl decal has been removed, there is both an outline and residual adhesive that must now be removed.
One of the many critical things I have learned with all the years of removing decals is that no magic decal remover exists that you can simply spray, and wipe off!
Whether you are removing die-cut individual decals, to a parking permit, to a full vehicle wrap, there is always going to be some adhesive left behind once the tops layer has been removed.
And this doesn't matter how you are removing decals; there is always some adhesive left over.
Adhesive Remover
Once again like every other part of life, not all adhesive removers are created equal. I have tried many and offer up only two products.
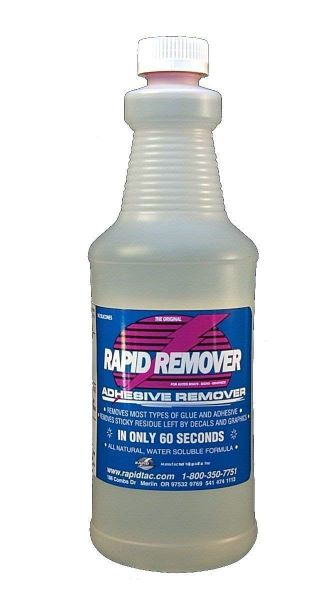
As I have said, I have tried many types of adhesive removers that will always be a must when removing decals for the underlying adhesive. But ultimately I just haven't found one with all the winning benefits of the Rapid Remover:
- Non-toxic (no harsh or dangerous chemicals)
- Water-soluble (This is especially helpful)
- Simply works better than any of the others I have tried
- Also an amazing grease cutter that I can use on fabrics, cloth, carpeting, etc.
Darren's Tips: Most tutorials on removing decals will forget one last critical step that many of you will face once you think you have safely and successfully removed the decals from your vehicle:
During the adhesive removal process, often you will create abrasions on the paint surface through hasty and aggressive rubbing in trying to remove the last bit of adhesive.
For this reason I am adding this link to my other site that is designed with the absolute beginner in mind when trying to polish your car. It is called Polish Cars
Last Words of Advice
Darren's Important Tips: Removing decals is an undertaking many people are willing to try themselves. This is usually a result of (2) things:
- Save money by removing decals themselves
- Underestimating the various steps involved
- Underestimating the possible challenges of each step
From business owners looking to retire a company vehicle, updating a new logo, to removing old parking passes, the job can get out of hand quickly.
Most people do not fully appreciate the numerous steps required in removing decals, nor fully appreciate the ability of each step to present unique challenges.
I do not say all this as a way to discourage you from doing it, I simply do so help you be more prepared with the right tools as well as the right attitude. I have seen far too many situations of people attempting to remove decals themselves based on zero experience, limited understanding, and in their casual attempt at removing decals, becoming quickly frustrated and hasty.
Here are my final tips of concern based on my years of experience:
- People getting impatient and rush the removal process using damaging techniques.
- Each step of the decal removal process must be approached as a separate job: equip yourself with the right tool, and equip yourself with the right mental fortitude with the understanding that you do not know at the beginning, the time and effort required, which means applying the appropriate patience
- Light colored car or surfaces are always easiest to work on and to achieve acceptable results
- Darker colored paints and surfaces will require more finessing each step of the way as dark colored paints and surfaces always show imperfections and damages more than light colored surfaces
- Be prepared to polish the surface if you are working on car paint when you have completed the removing of the decals (this will serve a few purposes: to "blend" the surrounding areas in to the surface that has been covered by the decals. To remove unwanted abrasions you may have introduced during the decal removal process
I hope this page will help you remove the decals from whatever you are removing them from in a much more timely and safer manner.
Sincerely,
Darren Priest
|
|
